Wadding Covered Pelmets
Wadding
Many of our customers order pelmets covered in wadding as a base that they then cover with their own fabric.
Graham has taken some photos to explain the process to help those people wanting to cover their own pelmets and explain how he covers a pelmet with wadding.
Its best to use a base of wadding because it makes the corners smoother and creates a more pleasing pelmet when its covered in a thinner decorative surface fabric. It also helps the middle of the pelmet look fuller and plumper.
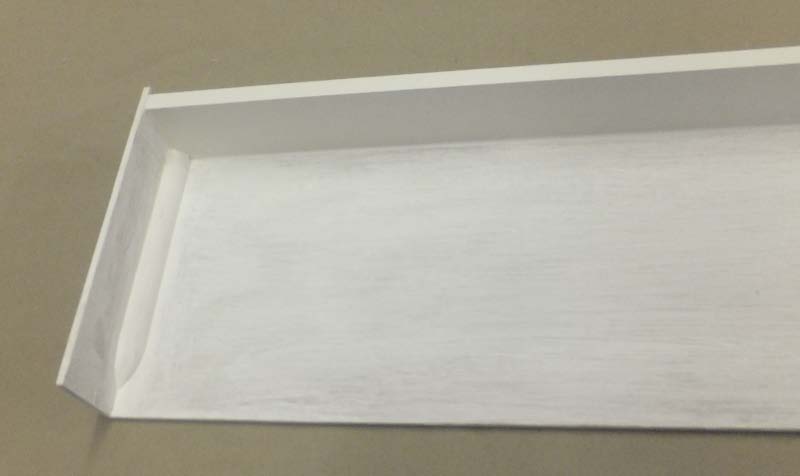
The base pelmet in this instance is a made using 5mm Far-Eastern Ply, painted in White Acrylic primer undercoat. This is then glued and stapled to a stout piece of white contiboard*.
(*Contiboard is only used for pelmets up to 2400mm long. Thereafter up to 3 metres we use 20mm thick PSA solid wood)
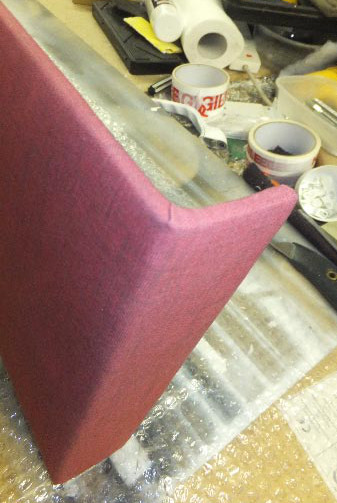
Graham then lays the 10 mm polyester wadding, notice wadding cuts on corners this is to reduce material build up. You don't want a lump on the corner.
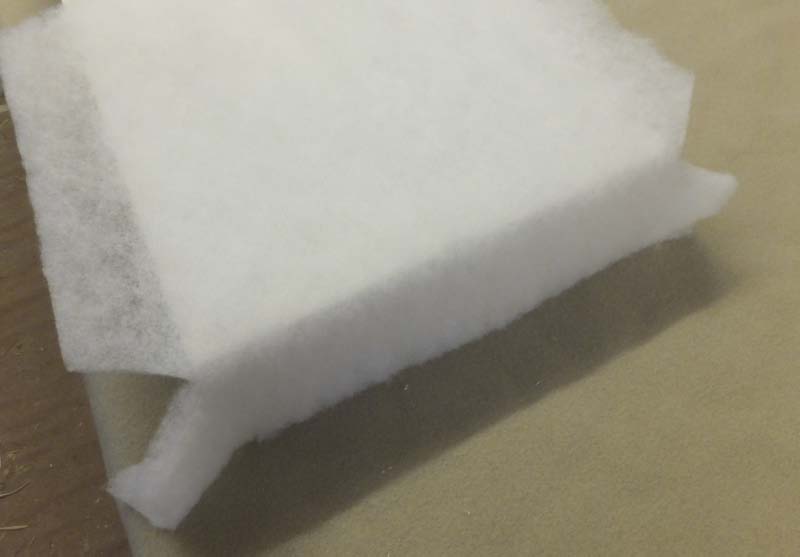
Wadding is secured to the front of the pelmet with spray adhesive if you were to use staples it becomes quite messy later on when you fix the final cover material.
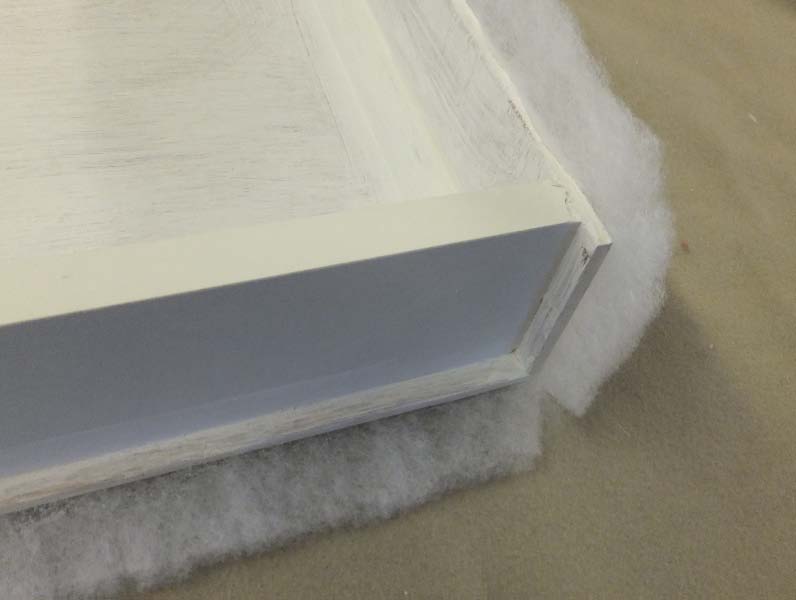
The ply will take a 5-6 mm staple to secure your cover material. Be careful with the length of staples you use as you don't want the ends to come out through the face.
There are some examples of pelmets covered and with wadding in our gallery including pictures here, here, here, here, and here.